Facebook is used by Billions of people, either to connect with friends and family or to engage in pointless conversation with strangers over their favorite movie. While Facebook helps with socialization, marketing, and business, it sure has some addicting features. That is why millions of people are leaving Facebook. If you’re one of those people fed up with the unhealthy community, unrelated ads, and data exposure then Delete Facebook Features is for you.
Delete Facebook account features are for those who want to completely erase their online presence from Facebook. Deleting your Facebook Account means that Facebook won’t be able to gain your information and use your historical data from the server. If you have made up your mind, this guide will help you delete your Facebook account. Here are 5 simple steps to delete your Facebook account permanently on both desktop and mobile platforms.
If you just want to deactivate your account instead delete follow the steps to Deactivate your Facebook Account and disable it to the public follow How to lock your profile on Facebook
What Happens After I Delete My Facebook Account?
Deleting Facebook Account is a Permanent Process once you delete your account, all the uploaded photos, videos, messages won’t be accessible. So Downloading your data before deleting your account is highly recommended. Facebook does provide a grace period to cancel your deletion. However, after this, you won’t be able to access your account or retrieve any information from it.
But Before deleting your account there are some things you need to know:
- You won’t be able to activate your account(while there is one way discussed at the end of the post).
- Facebook will permanently delete your personal information such as photos, posts, comments.
- You will be logged out of every Facebook related app including messenger.
- You won’t be able to use Facebook login for other apps such as PUBG, Pinterest.
- Messages sent to friends may still be visible but won’t be able to reply.
- Pages that you control will delete. So, make sure you give someone full access to your page before deactivating.
Method 1: Delete your Facebook account permanently using a desktop browser
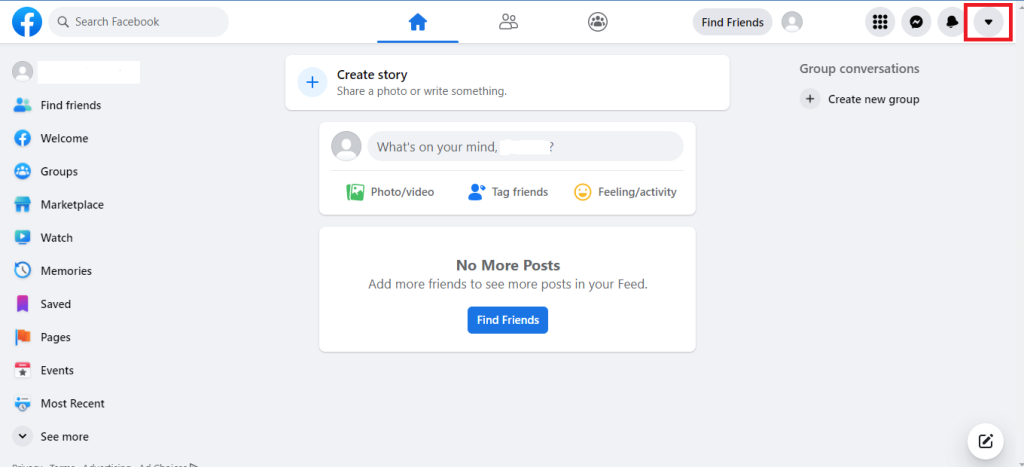
1. From the home page, click the top right dropdown button.
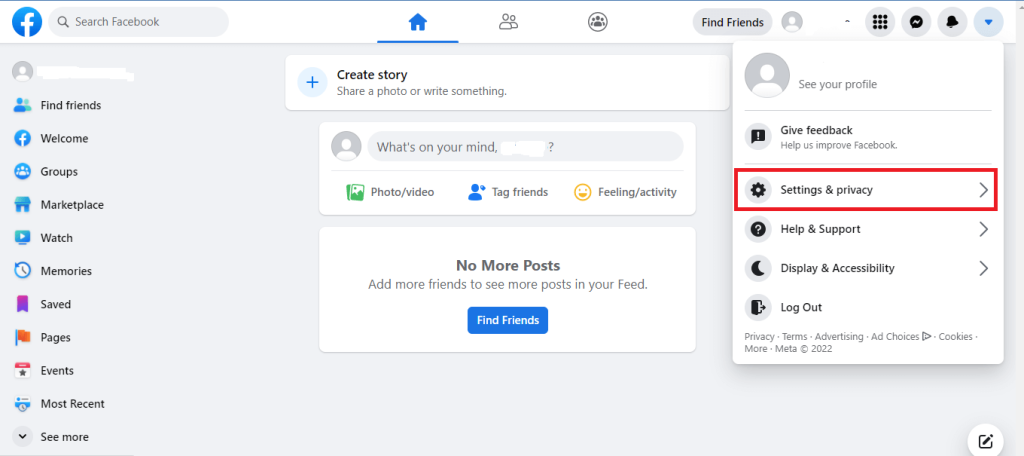
2. Click on Settings & privacy, then select Settings.
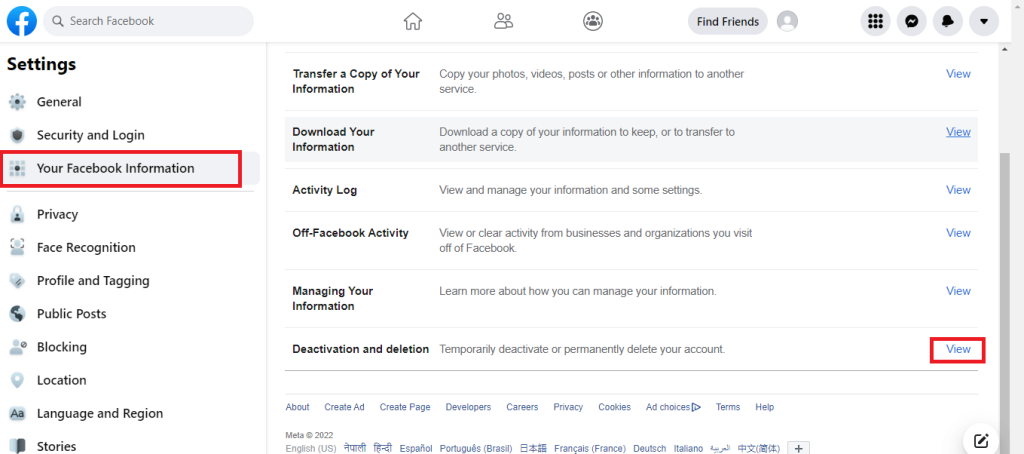
3. Select Your Facebook Information from the left sidebar. Scroll down until you find Deactivation and deletion, click the view button.
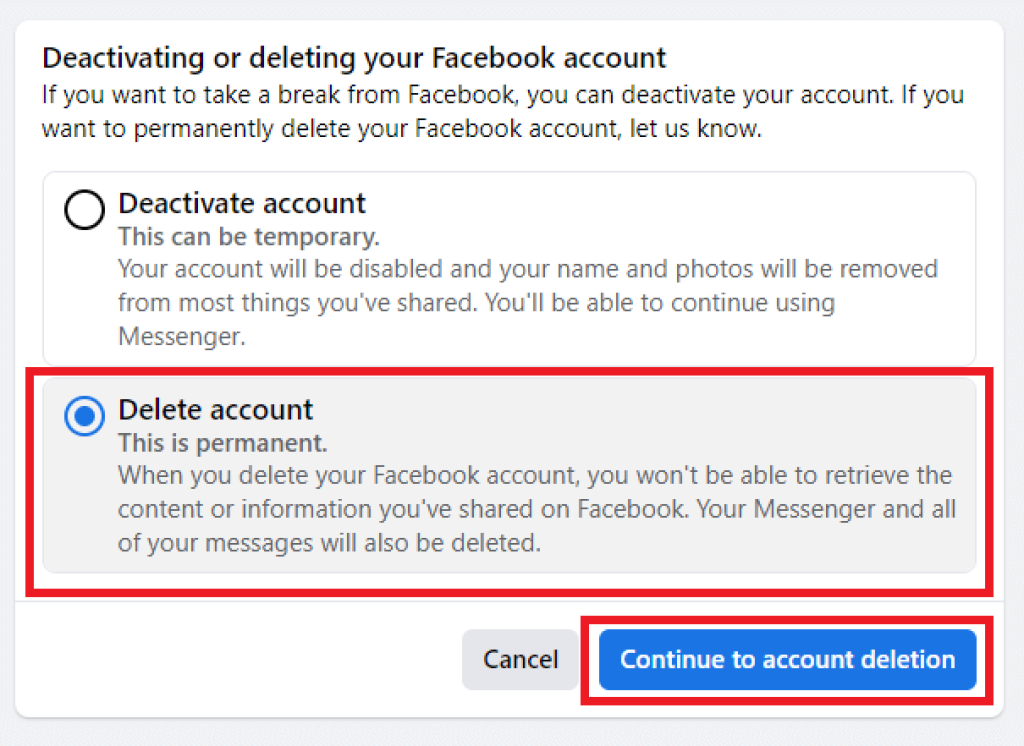
4. Select Delete account and click Continue to account Deletion.
Method 2: Delete FB your account using a mobile app
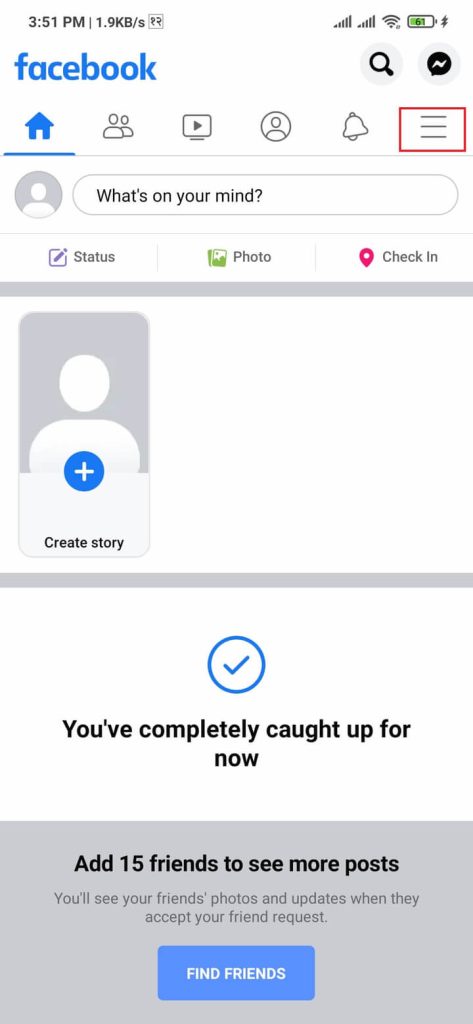
1. From the home page, click the top right dropdown button.
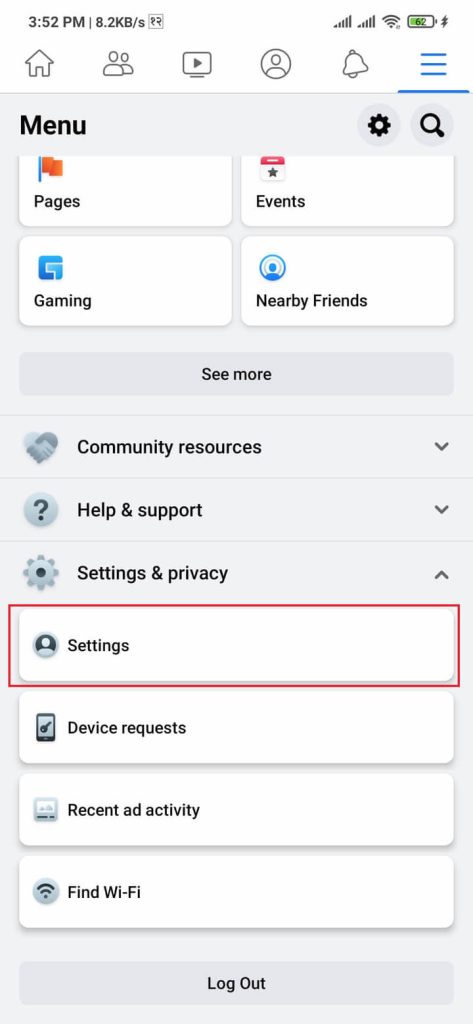
2. Scroll down to Settings & Privacy, then select Settings.
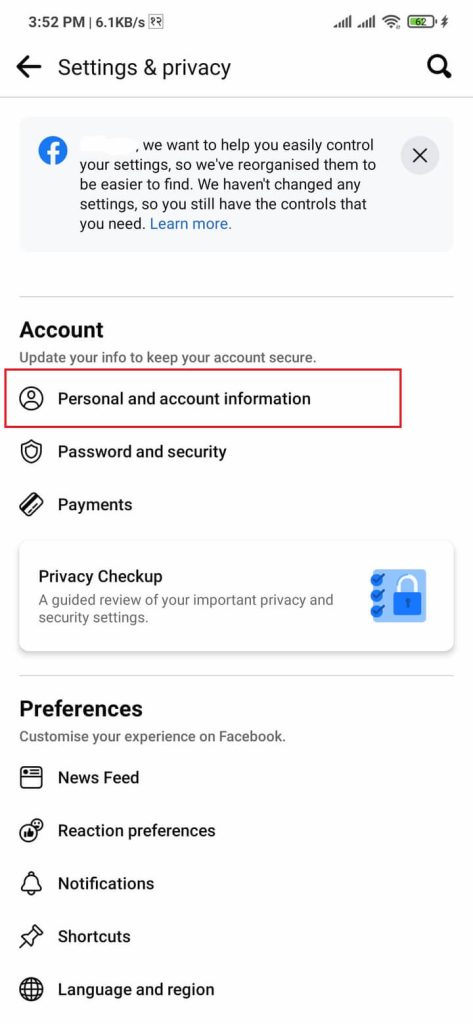
3. Select Personal and account information from the Account section.
4. Click Account ownership and control then Select Deactivation and deletion.
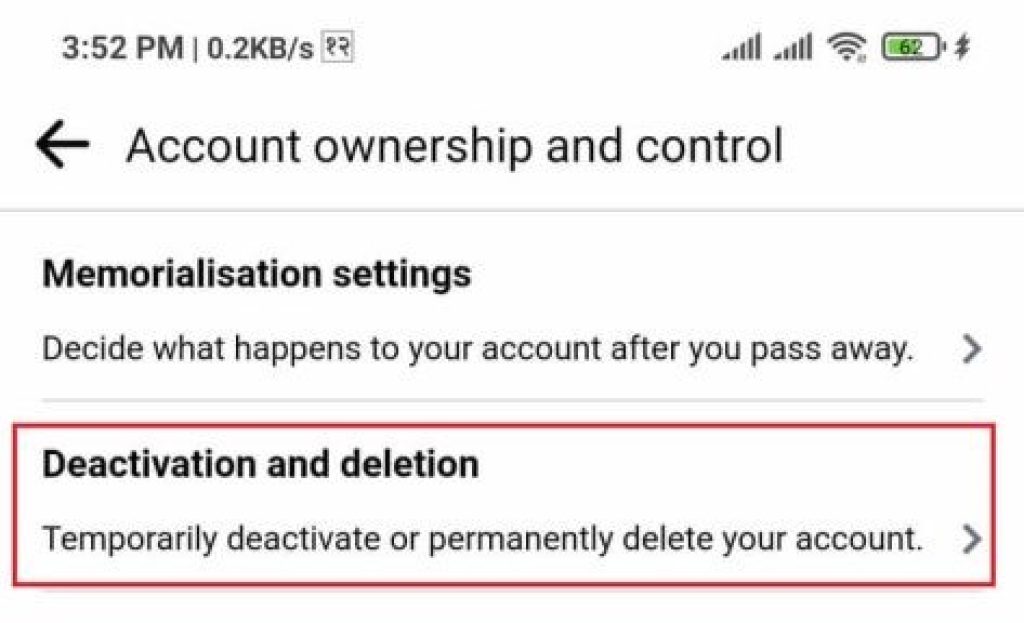
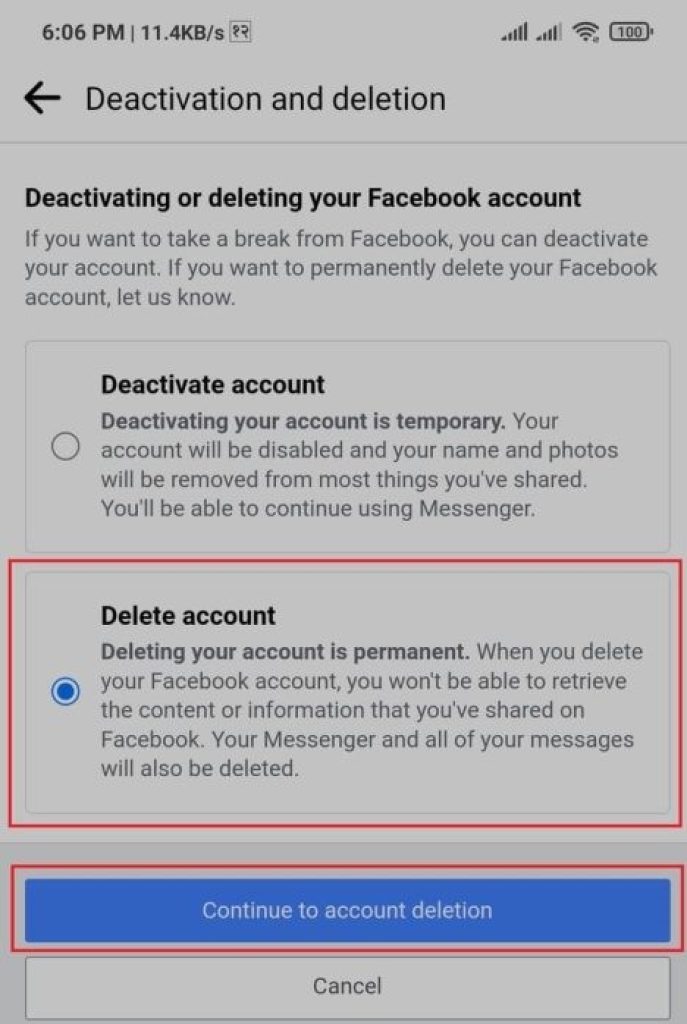
5. Select Delete account and then click Continue to account Deletion.
What if you accidentally delete your account or changed your mind?
Facebook provides us with an account cancellation policy where users can log in to an account and cancel the deletion process. The process is applicable within 30 days of initiated deletion time. So, there is no need to worry.
Although deleted, your information is still saved in the server for 90 days since the account deletion may take some time. While deleting, the information is not accessible to other people using Facebook.
Facebook has also stated that they will keep your information for legal issues, term violations, or harm prevention efforts. So If you’re trying to delete your information, you might as well read the terms and conditions for additional details.


